
Loading...

Online Course—Beginning Rigid Heddle Weaving
Schacht Spindle Company | SKU:
CO1006
Regular price
$52.00
Unit price
Online Course—Beginning Rigid Heddle Weaving is backordered and will ship as soon as it is back in stock.

Online Course—Beginning Rigid Heddle Weaving
Regular price
$52.00
Unit price

Online Course—Beginning Rigid Heddle Weaving is backordered and will ship as soon as it is back in stock.
Description
Description
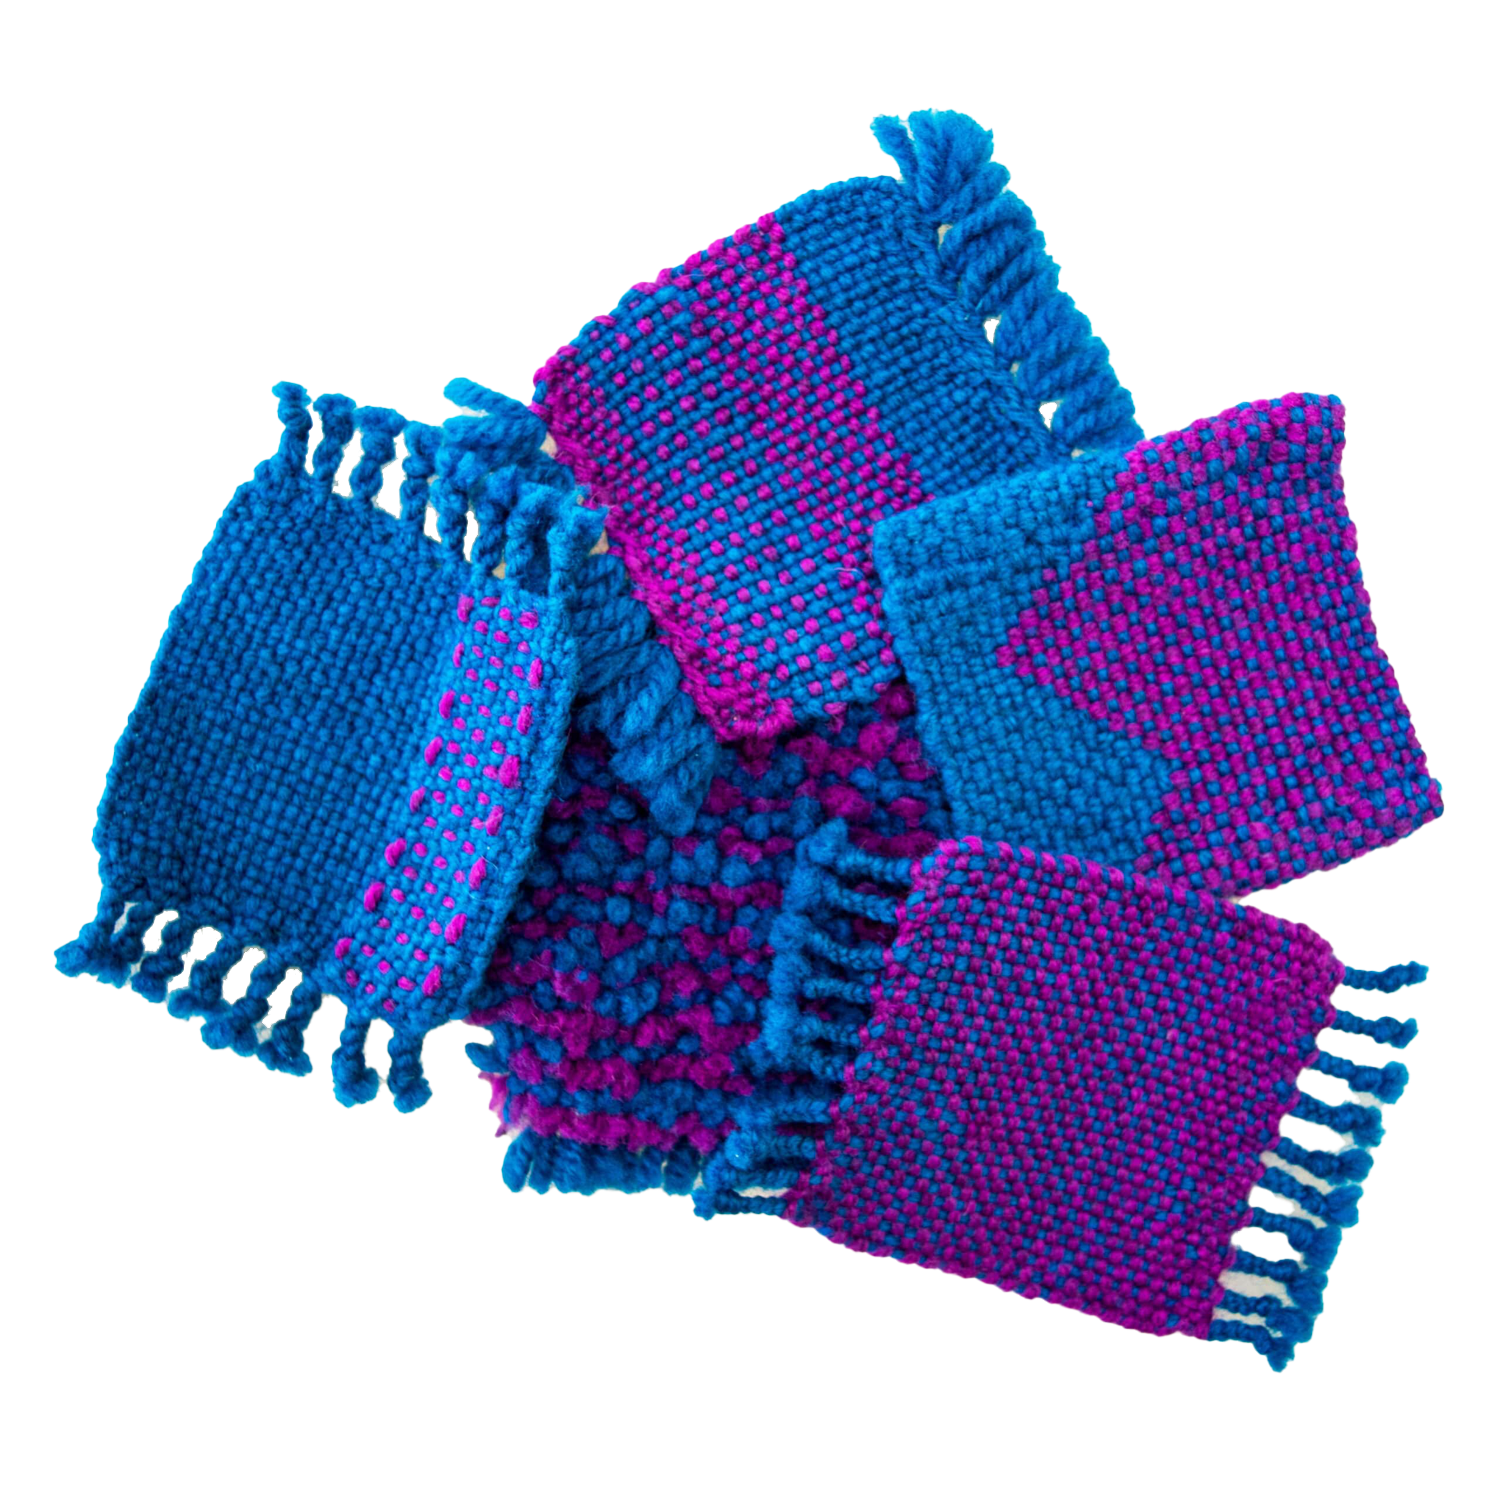
Are you ready to explore rigid heddle weaving? Learn to warp and weave as you make a set of coasters! We'll teach techniques including plain weave, weft stripes, clasped weft, inlay, and rya knots.
Materials needed
Materials needed
Equipment needed
Equipment needed
Is this course for you?
Is this course for you?

Products used in this course
View all-
Regular priceFrom $241.00Unit price
-
-
Regular price $41.00Unit price
-
-
Regular priceFrom $41.00Unit price
-
-
Regular priceFrom $12.00Unit price
-


Meet your instructor


